Congratulations, you’ve reached the finishing line! After all of your planning and hard work, your project is complete and looking fantastic – but what’s next? Well, showing it off, of course!
We adore seeing your finished projects with all the love and labour that’s been put into them, and we want to show them off too. For a chance to have your projects featured on our website and social platforms, follow these easy tips & ticks of things we look for in excellent customer photos:
✓ Make sure your space is clean & clutter-free
✓ Avoid snapping your reflection
✓ Get the right lighting
✓ Find the best angle
✓ Keep focus on the tiles
✓ Add your finishing touches
Make sure your space is clean & clutter-free
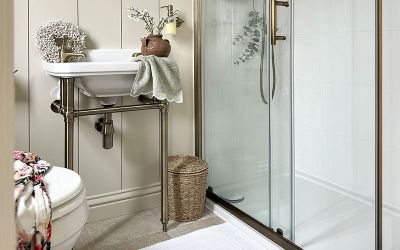
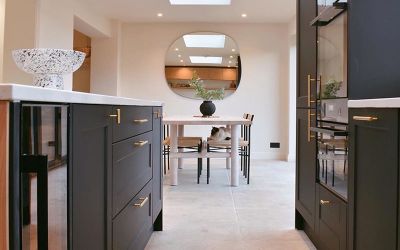
We know you may be eager to send us your snaps mid-project, but please ensure your space is finished, clean, and free from tools or left over products. That being said, don’t feel like you should leave your spaces completely empty. We love to see your personal style come through so feel free to pull in pieces of furniture and accessories to bring the space to life!
Provence Bianco Antique Effect Porcelain Tiles
Avoid snapping your reflection
Unfortunately, if we receive photographs that show your lovely faces, we cannot show your imagery on our website! However, we always love to see your pets with our products so, if you're happy for them to be featured, please feel free to include an additional shot or two of your furry friends in the space.
Get the right lighting
Lighting and time of day are important when taking project photos. If possible, we always recommend using natural daylight and turning off the flash on your phone or camera. Utilise the best natural daylight by taking your snaps at an appropriate time of day and avoid dull, night-time lighting. If you’re unsure, here is a quick guide that works for most properties:
North-facing: late morning - early afternoon
East-facing: early - mid-morning
South-facing: early morning or late afternoon
West-facing: afternoon
Calacatta Hex Gold Matte Porcelain Tiles
Find the best angle
Take some time finding the best few angles in your space. Try going head-on to a tiled area, or lowering the camera and tilting slightly up, to straighten the angles in your snaps.
Keep focus on the tiles
Ensure the tiles are well visible by reducing glare, and if possible, show at least a few full-sized tiles in the images. After setting up your angle, make sure your phone/camera is in focus before taking your shot. Remember: the tiles should be the area in focus, rather than the surroundings.
Windsor Pearl Metro Tiles
Add your finishing touches
Let your style & personality shine through by adding your favourite home furnishings & accessories! This could be vases, plants, candles, books or even just adding a cushion or two to your outdoor furniture.
Camden Charcoal Metro Tiles
If you would like your project to be featured on our website, please submit your photos by tagging us on Instagram @stonesuperstoreuk, or by getting in contact with us over email. We look forward to seeing them soon!


