While there’s certainly an inherent natural beauty to a well-laid wooden floor, if you’re looking for a change in scenery throughout your home, then you might be considering new tiled flooring. However, whether you want a shiny set of porcelain tiles or a durable layer of natural stone underfoot, you might be wondering: can you tile onto wood floors?
It’s an important question to ask - after all, do you really want to have to go through the expensive process of tearing up your old floor in order to lay a new foundation? What if you want to go back to using your wooden flooring later down the line?
Well, the good news is that you can definitely start tiling on floorboards, though there are a few things you need to know about doing so before you get started. So, to make sure you’re doing your tiling right, here is everything you need to know about tiling on floorboards rather than replacing them.
What to consider when directly tiling on floorboards
As we’ve already hinted at, yes, you can certainly start tiling onto your floorboards. In fact, tiling on timber floors is far more common than you might think, though we wouldn’t recommend simply applying adhesive to your tiles and sticking them over your old floorboards.
Instead, you’ll want to consider all of the following before laying tiles on floorboards:
- Ensure any overlapping floorboards that run from the room you want to tile into another area are secure.
- Check that all your floorboards are stable and securely fixed with screws into their supporting joists at 300mm centres. Be sure to replace any damaged or uneven floorboards before you begin tiling to reduce the risk of uneven flooring.
- Make sure there is sufficient ventilation beneath your floorboards so they can ‘breathe’.
- Remove all stains, polishes, and varnishes from the surface of the wood, as these 'contaminants' will prevent the floor tile adhesive from bonding with the planks and may lead to your floor tiles cracking or coming loose over time.
- If your floorboards are old, we recommend priming the surface with a purposeful primer, such as Kerakoll Primer A.
- If you’re fixing heavy natural stone tiles, such as limestone flagstones, it’s recommended that you fix battens between joists to reinforce the structure.
- Finally, consider installing an anti-fracture mat, such as Kerakoll Idrobuild, to your boards before laying your tiles to reduce floor movement. Bounce can be a serious problem when tiling on wood, and you don’t want it damaging your tiles by accident.

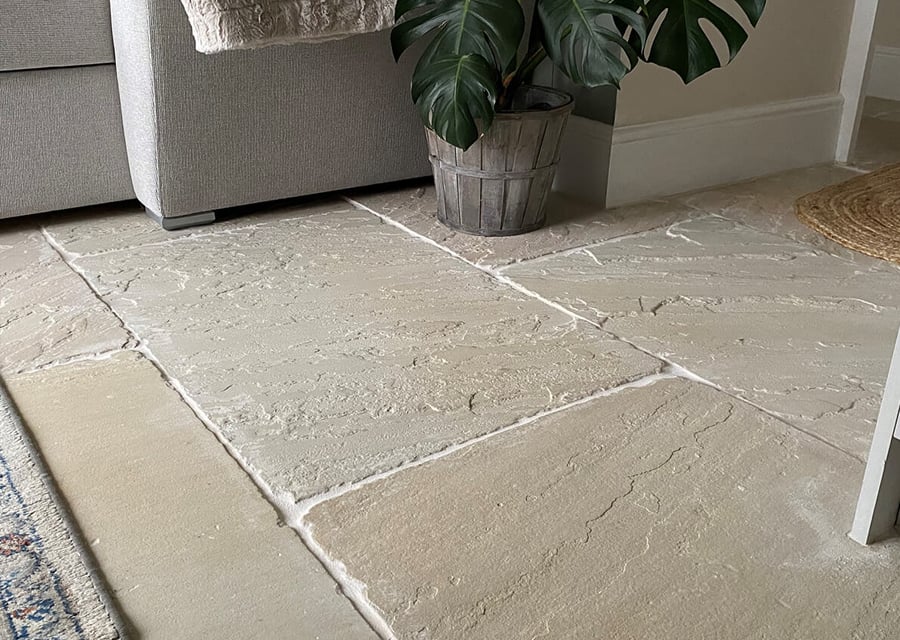
Gironde Flax Natural Sandstone
Can you tile on plywood?
Although the wooden floors of most properties will be made of traditionally laid boards and planks, sometimes, you might find that your old wooden flooring is instead made of plywood boards.
If this is the case, don’t worry, as this will not pose an issue when tiling on wooden floors, as the majority of over-boards required for tiling on timber flooring are themselves made of plywood anyway, making it well-suited for taking the weight of your tiles after installation.
Can you tile directly onto chipboard?
While it is possible to start laying tiles on floorboards made of chipboard, we don’t recommend doing this, large due to the way that the majority of chipboard products are constructed.
When tiling directly onto chipboard, you run the risk of the glue used to bind the chippings together reacting with the water in the adhesive, preventing it from setting properly and potentially resulting in your tiles coming loose in the future.
How to prepare a wooden floor for tiling
Now that we’ve covered what to consider before tiling on timber flooring, let’s now look at how best to prepare your wooden floorboards to ensure that your new tile set will be level and sturdy enough to walk on.
We recommend doing all of the following before you start adhering your tiling board to the floor:
- Check all of your floorboards and firmly screw down any loose or creaky slats.
- If any of your floorboards appear damaged, replace these with fresh boards that have been cut to a matching size.
- Where your floor is weak, add in any supporting joists as required to shore up its rigidity (we suggest speaking to a carpenter or joiner if you think this step is required).
- Select your preferred tiling board and then measure and cut it into sections to match the area of the floor you wish to tile.
- Thoroughly clean your floor for maximum smoothness and to eliminate any contaminants that could interfere with your tiling board adhering.
What are the different types of tiling boards for laying tiles on floorboards?
Similarly to the different tiling materials out there that you can choose from, there is also a range of available tiling boards that you can opt for when selecting a backer board for your project.
However, due to the nature of wooden floors and their need to ‘breathe’, we recommend sticking to either a plyboard base or a foam backer board, both of which are light enough to allow your boards the flexibility they need to expand and contract.
On top of these, there are also other specialist tile backer boards out there you can try, some of which provide thinner sheet alternatives for those concerned about raising the height of their floor, but users should be wary about picking any with a cement base, as these run the risk of being too heavy for your boards.

Tiling on a wooden floor: Where to start
With all your prep over and done with, it’s now time to look at exactly how to lay tiles on wooden floorboards. We’ve broken out the key steps you need to follow below:
1. Lay your backer board
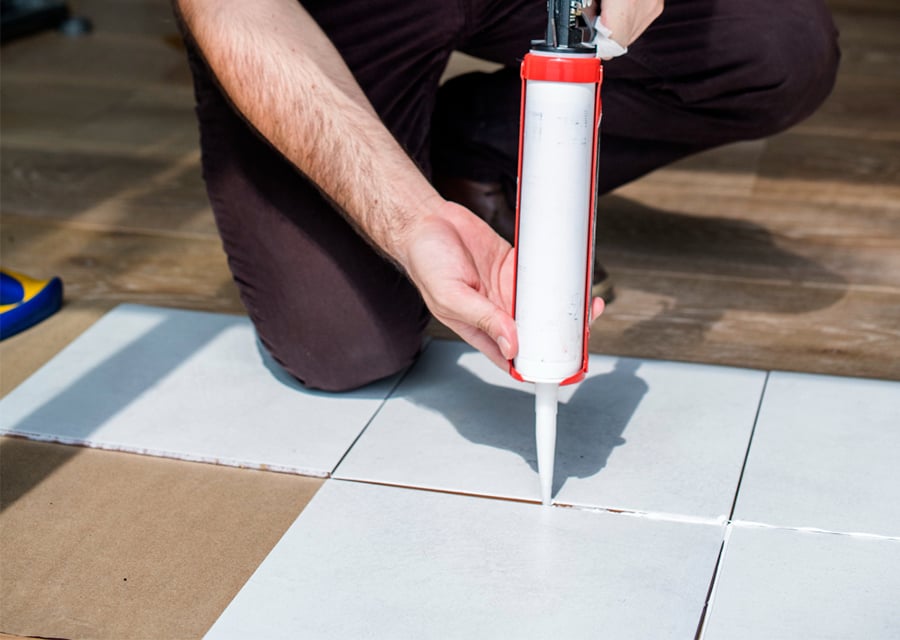
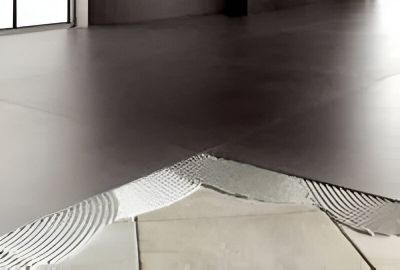
Taking your cut backer board, start from the room corner opposite the door and apply a backer board adhesive to the board’s underside, being sure to get even coverage across the whole of the underside.
Then, lay your first board adhesive side down, line it up with the room edges, and then tap it down to ensure it’s firmly adhered to the boards below. Once secure, lock your backer board in place with countersunk screws at the corners and across the centre and edges to prevent lifting and then move on to the next board.
Repeat this process until you’ve covered your entire floor in backerboard.
2. Apply your primer
With your backer board in place, the next step is to apply an even coat of primer to your board. This will soak into the surface of your backer board and provide a grippier surface for your tile adhesive to work with.
As for what primer to use, there are many different options out there, but we recommend going with Kerakoll Primer A Eco Primer, which is our preferred primer product. Simply follow the instructions on the bottle for application and then get your tiles ready.
3. Lay your tiles
Finally, with your backer board in place and primed, you can get to the main show – laying your tiles. To do this, we recommend following the typical rules for tile laying projects (doing a dry run, tiling from the centre outwards, etc.), taking the time to get things right the first time and avoiding any costly mistakes.
Find the right tiles for your needs in our range
And there you have it; you should now have everything you need to know to start tiling over floorboards in your home and create the new tiled flooring of your dreams! Just remember to prepare the surface correctly before you start, and you shouldn’t have any trouble fixing your tiles securely.
And, of course, if you’re planning on tilling over your old wooden flooring, then you’ll need to pick up some new tiles to begin with. Get in touch with the Stone Superstore team today to discover our full product range and don’t forget to browse the rest of our tile installation advice for more pieces like this one, including how to tile over concrete.
Tiling over floorboards FAQS
Still got some questions around laying tiles on floorboards? Take a look at our FAQs below or get in touch with our team directly to see if we can help:
What thickness of plywood is needed for tiling over floorboards?
Generally speaking, most backer boards of plywood will be 12mm in thickness. This is thin enough to cause a minimal increase in floor height while still being strong enough to take the weight of your tiles.
Is there a difference between laying porcelain and natural stone tiles on floorboards?
For the most part, there is little difference between laying natural stone tiles and porcelain tiles on wood. However, if you are using heavy natural stone tiles, we recommend adding further supports to your floor joists to reinforce the structure.


