

Whether you’re an experienced tiler or trying your hand at this DIY task for the first time, tiling around a window properly isn’t an easy task.
Fortunately, with the right know-how and knowledge, you can turn the complex process of learning how to correctly tile around a window into a straightforward and easily achievable task. Of course, good planning and preparation are essential, particularly ensuring that your measuring and cutting skills are up to the challenge.
Keep reading our guide to learn exactly what steps to follow in order to tile around a window without issue, including tips on how to tile around a window with or without trims.
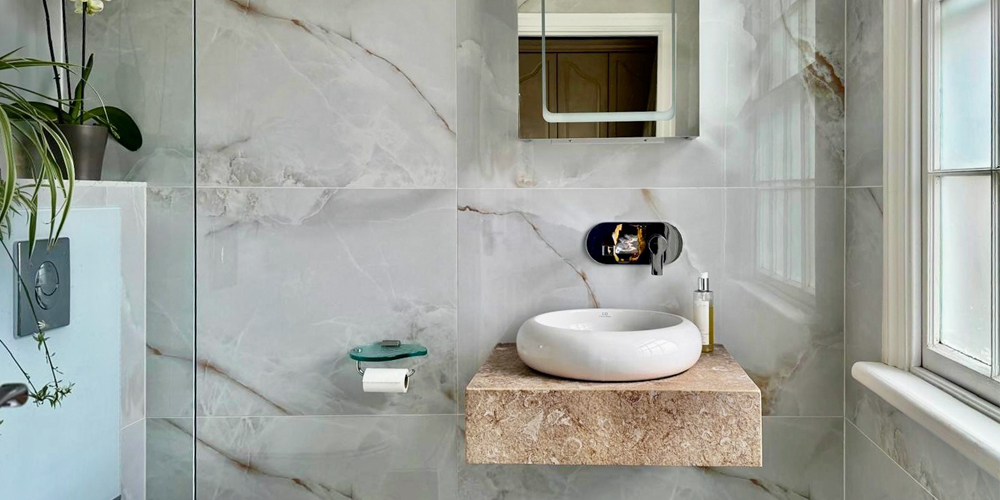
Mimica Onyx Naturale Porcelain
What tools do I need to tile around a window?
Before we begin discussing the actual steps involved in tiling around a window, let’s touch on the essential tools you’ll need to get started. That way, you can do the job properly the first time around and minimise the chance of making accidental mistakes.
We recommend picking up and familiarising yourself with the following tools:
- A trowel
- Grout float
- Sealant gun
- Hacksaw
- Mitre block
- Tile cutters
- Tile snippers
- Tile spacers
- Wooden T-batons
- A sponge and bucket
- Pencil
- Spirit level
You also need to purchase all the essential tiling materials alongside these, including:
- Your chosen tile set
- Tile adhesive
- Tile grout
- Tile sealant (if necessary)
- Sandpaper
- Silicone sealant
- Tile trims (assuming you intend on using them)
Once you have all of these tools and materials in hand, you’re good to get started on your tiling project.
How to tile around a window correctly
As with all tiling tasks, when it comes to tiling around a window, it’s best to stick to a clear plan that lays everything out step by step, which is why we’ve outlined our preferred window tiling method below:
1. Carry out a dry run
If you’re unfamiliar with what a dry-run is, it's an important initial step to take before beginning the installation process, which involves laying out your tiles without adhesive so you can see how they look and where you’ll need to make cuts.
Of course, this is not as simple to do on a wall as opposed to your floor, which is why we’ve gone into detail on how to set out your tiles properly before adhering them in our other detailed installation guides.
However, there are some points to setting out tiles around windows that you’ll need to be aware of. Specifically, how you should set your tiles out to ensure you have your cuts in the right place:
1. Starting from the bottom wall, set out your tiles as normal until you reach the window recess, then mark on the final tile where a cut needs to be made so that there is no lippage. You want to use as many whole tiles as possible to reduce the number of cuts you’ll need to make.
2. Repeat the above process for the sides of your window and one row of tiles above the recess.
3. Next, set out your tiles from inside the window recess, starting at the window and moving outwards until you reach the edge. Again, note where the last tile will need to be cut and make sure they line up with the other marked tiles.
4. Finally, if necessary, perform a dry run around your window frame and mark these tiles for cutting as well, starting at the middle of each window edge before moving evenly outwards to the corners.
2. Lay your non-recess tiles
Once you’ve completed your dry run and marked out your wall, the next step is to lay your non-recess tiles. This is by far the easiest step, and if you’ve never tiled a wall before, you can learn the whole process by following our guide on how to tile a wall properly.
Much like your dry run, we recommend starting this part of the tiling process from the bottom up, using your marking as a guide, keeping your tiles separated with spacers, and then moving onto the sides before tiling the top wall to wrap it up.
Finally, once all your non-recess tiles have been laid, double-check that your remaining guide marks are still present and clearly denote where the tiles will continue when laid in the recess.
3. Cut your tiles
Now that your first batch of tiles is in place, it’s time to cut the remaining tiles that will complete the wall. Much like our guide to tiling a wall, our piece explaining how to cut tiles goes into more detail on how to carry out this step correctly.
Once you’ve cut your tiles, you need to be sure they sit square with the edge of the window recess. To do this, take your spirit level and place your cut tiles against it to check that there are no slants when lined up. If there are, either use your tile snippers to level them out or sand the offending edge level.
After all tiles have been cut to the correct size, adhere them to the wall to complete the non-recessed side. From here you would then add the trims if you had them. However, for now, we will assume you’re learning how to tile around a window without a trim, in which, case the line between these tiles will need to be grouted once all tiling is complete.
4. Tile the window recess
With the main wall done, it’s time to move on to tiling the recess. Starting from beneath your window frames, tile outwards until you reach the space for each cut tile. Do this for the windowsill (if that’s being tiled) before moving onto the sides. Then adhere the cut tiles for the sill and sides, ensuring they line up with the tiles outside the recess for an unbroken appearance.
Finally, tile the top of your window recess by following the same steps as above, using your T-shaped wooden batons to hold your tiles in place until they are dry.
If you are placing tiles around your window on the same wall as the frame, we recommend tiling these first before doing the recess walls. That way, it will be easier to align your tiles properly and make sure they line up correctly.
5. Complete the tiling process
With all your tiles in place, wait 24-36 hours for the adhesive to dry and then apply the grout as laid out in our grouting guide. If you’re tiling around a window without a trim, this is where you would connect the edge tiles using grout.
Next, let the grout dry and then seal your tiles if necessary (for example, if you’re using natural stone tiles). Then, once your tile sealant has dried, use your sealant gun and silicon sealant to line the edges of your window frame and tiles to form a watertight bond.
And that’s it, you’ve successfully tiled around your window!
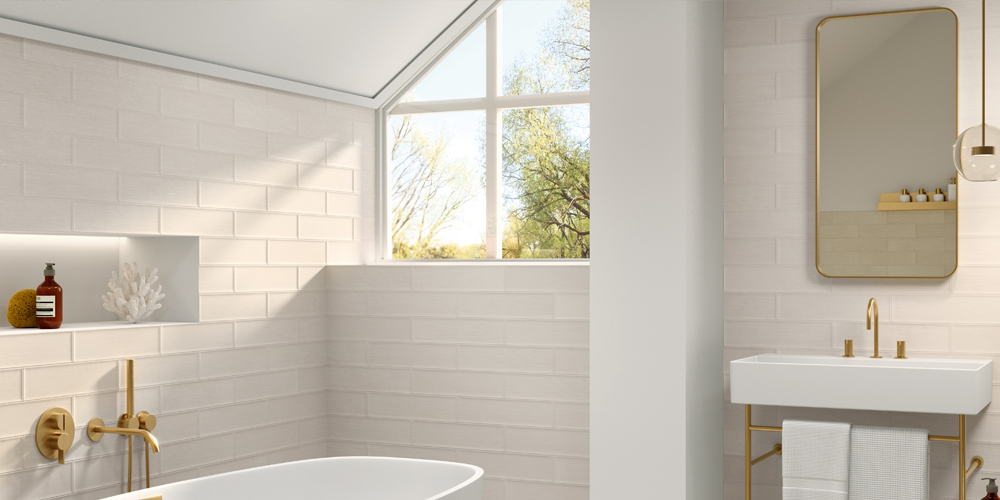
Opt for versatile metro tiles for easy tiling around around a window
How to tile around a window with trims
When tiling around a window, you may have chosen to add a trim to the border of your window recess walls to create a smooth, rounded finish between your tile sets.
This is typically done at the point where you finish tiling your non-recess wall. That way, you can be sure your trim will sit flush with the rest of your tiles for a seamless finish.
To do this, start by measuring your trim so that it fits the sides of your window and then mark the cut. Next, take your hacksaw and mitre block and use them to cut your trim at a 45-angle so that they’re easier to join at the corners with sealant.
Finally, check they fit together comfortably and then apply adhesive to their edges before pushing them into place. Once it’s settled on the wall you can then continue the tiling process as instructed above.
Tile around your windows with Stone Superstore
You should have all the information you need to get started tiling around your window. Of course, you’ll also need to pick up your preferred set of tiles – which is where the team at Stone Superstore comes in!
Here at Stone Superstore, we have an unrivalled selection of natural stone and porcelain bathroom tiles, so you’ll have no trouble finding a set of tiles to perfectly suit your home’s aesthetic.
Get in touch with our team today to if you have any further queries, and don’t forget to take a look at the rest of our tile guides for more tips on DIY tiling.