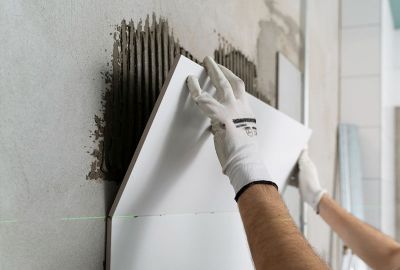

When it comes to tiling any space in your home, be it your bathroom, kitchen, or even your hallway, getting a clean finish around your tile edges is essential for a smooth and consistent aesthetic.
One of the best ways to achieve this is by fitting a tile trim in the spots where your tile’s edges could be exposed – such as, at room corners or where they meet the edge of built-in baths or showers.
But unless you have tiling experience, you might not be familiar with exactly how to fit a tile trim, and what steps are required to make sure it sits flush with the tiles.
Fortunately, learning how to fit a tile trim strip is a lot easier than you may initially think. In fact, we’ve broken down everything you need to know about the topic in our guide below, including what to consider when choosing a tile trim, and how to fit a tile trim around corners with minimal effort.
What is a tile trim
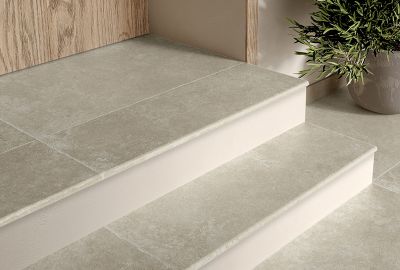
Whether you’re using porcelain tiles or stone tiles, a tile trim is a length of plastic or metal, used to give a consistent finish between the adjoining edges of two tiled areas.
In most cases, these trims will be used to fill in and protect the corners of a room, an alcove or windowsill, helping to complete a neat tiling design while preventing any exposed tile edges from being damaged.
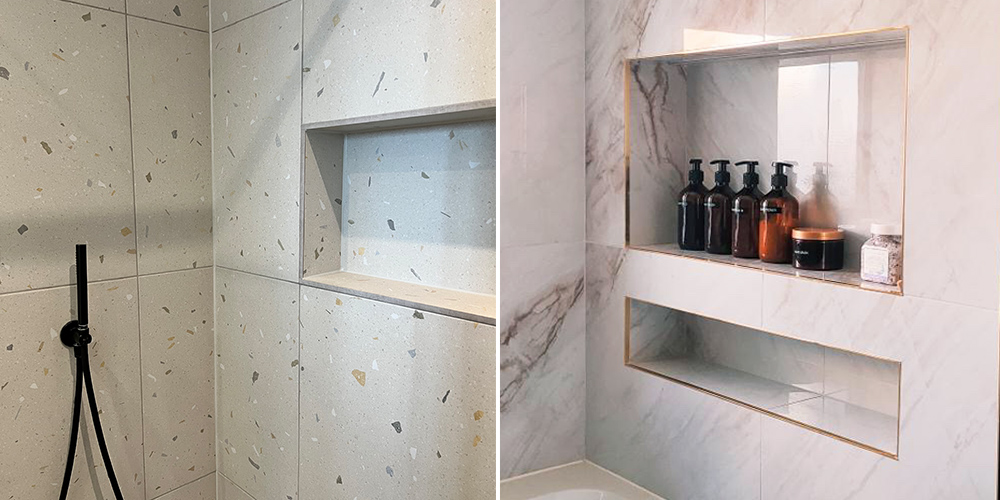
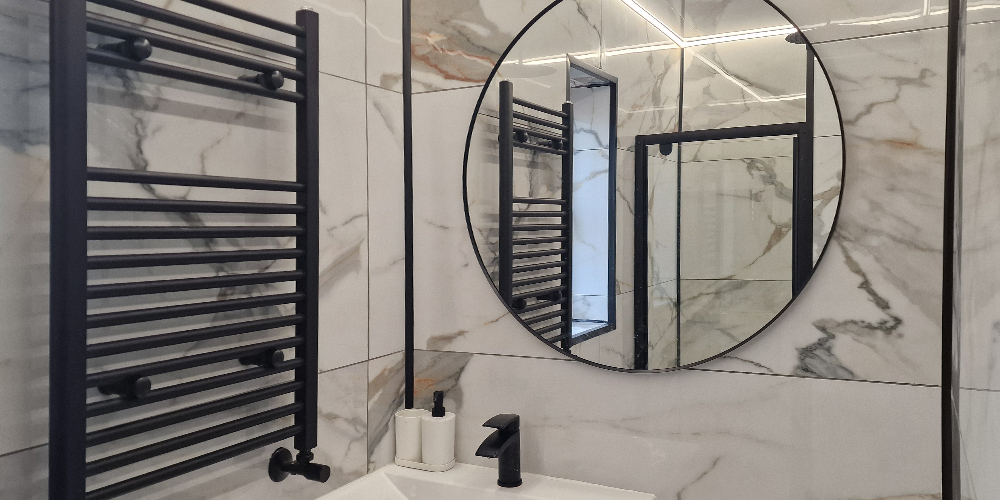
Left: Tutti Frutti Cementi Porcelain, Right: Volakas Gold Polished Porcelain
Choosing your tile trim
Although choosing a tile trim might seem simple enough on its own, there are a few key things you’ll need to consider when browsing your trim options to ensure you select one that is perfectly matched to your tiled space:
- Trim material: whether you want a trim made from a traditional plastic/PVC, or a stylish metal finish, make sure you take the time to select the right trim to compliment your chosen tile material.
- Trim style: while the most common trims simply provide a rounded finish to complete a tile design, there are several trim styles out there you can look at to see if there is one better suited to your desired room décor.
- Tile colour/finish: there are so many colour and finish options available for tiles trims. You could opt for a subtle look by finding a tile trim that is similar to the colour of your desired tiles or even match them to the finish of your brassware for more of a stylish look.
On top of these three areas, you’ll also want to take into consideration the depth of your tile trim, so that it matches the thickness of your tiles and forms a flush surface once installed.
When browsing tile trims, make sure you know how thick your tiles are and select a trim that’s the same depth plus 10%. That way, you can be confident your trim will provide a neat finish.
How to cut a tile trim
Regardless of how much trim you require for your tiling project, you will need to cut the piece so that it perfectly fits the area it needs to adhere to. This is especially true if you’re tiling around windows or corners.
To do this, start by measuring the area your trim will sit and then mark the same length on your trim, so you know where to cut. Repeat the measurement again to double-check it’s right and then place your trim into a mitre block.
From here, how you go about cutting your trim will depend on the material you’ve chosen and where the trim is being placed. For example, if no angle is required for your trim, simply make a cut at a 90-degree angle for the length required and move on to the next step.
However, for corner pieces, it’s recommended you cut your trim at a 45-degree angle. This helps to make joining your trim corners that much easier and neater.
When cutting your trim, be sure to use the right tool for the job. For example, if you’re only working with plastic or metal trims, you can use a hacksaw with a fresh blade to make the cut. Alternatively, if you’ve gone with a porcelain trim, it’s best to use a handheld, mini-circular saw with a damp blade instead, otherwise, you’ll risk damaging your trim edges.
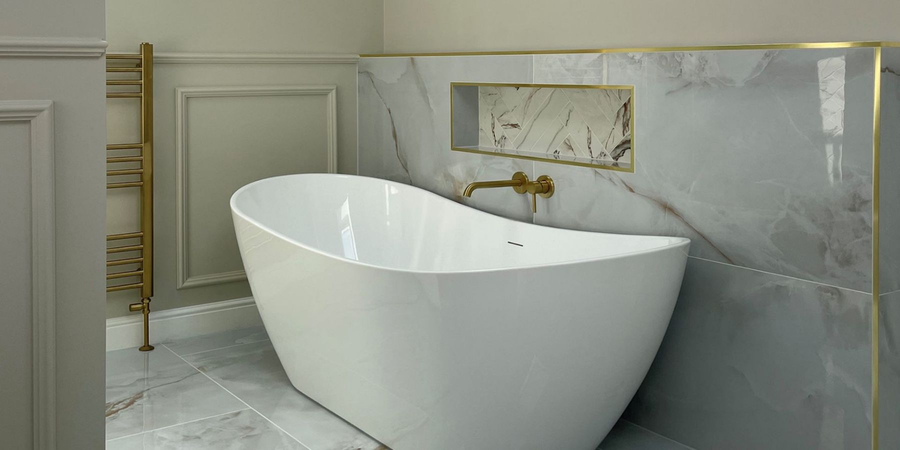
Calacatta Borghini White Polished Porcelain
How to fit a tile trim strip
Finally, with the knowledge of how to cut a tile trim covered, you can now move on to actually fitting your new trim. To do so, start by carrying out a dry run of your tiles, and then going through the tiling process as normal until you reach the area that requires the trim to be fitted.
From here, you then have two options in how to adhere your trim:
- You can apply your trim adhesive to the gap on the wall where your trim will be placed.
- Or apply it directly to the base of the trim itself.
Either option will produce the same result, so which you choose is ultimately up to personal preference.
Once you’ve settled on your given method, apply your adhesive and firmly press your trim into place, ensuring that plenty of adhesive makes it into its anchoring holes, before checking that it is lined up properly and securing it with another gentle push.
From here, you can clean off any extra adhesive that spilt out with a damp cloth and continue tiling your room until it’s complete. As an aside, be sure to leave a grouting gap between your trim and the adjoining tiles so you can grout the area later.
How to fit a tile trim around corners
In many cases when using tile trims, you’ll likely find that you need to fit them around one or more corners in your room. And while you can bend certain tile trims for this purpose rather than cutting them, we don’t recommend doing this if you want a perfect finish.
Instead, you should install your tile trim in the same manner as laid out previously, however, you will need to leave a reasonable gap for your trim so that it fits between the meeting point of your tiled corners.
So, before tiling, measure the area your trim will take up when in position and note where the tiles will need to end in order to accommodate it. From here, start tiling as normal until you reach this spot, then measure how much of your tiles will need cutting to fit the remaining space.
From here, you can cut and adhere these tiles before installing your trim as above and continuing the tiling process as normal.
Should I remove the plastic covering my tile trim?
You may have noticed that the majority of trims often come with a plastic covering on their topside, which we recommend leaving in place until the entire tiling procedure has been finished.
That’s because this plastic cover acts as a layer of protection from spilt adhesive, grout, and sealant, which could stain or get stuck to your trim without it. Therefore, leave this cover in place until you’ve done all your grouting and sealing.
Buy your tile trims from Stone Superstore
And there you have it, that’s everything you need to know about how to fit a tile trim strip yourself. From a huge selection of porcelain bathroom tiles to our unrivalled range of natural stone kitchen tiles, here at Stone Superstore we have plenty of tiling options for you to choose from. We’ll even send you some free samples of your favourites so you can see how they’ll look in your home before purchasing.
For further guidance and tile inspiration, don’t forget to look at the rest of our advice hub for more helpful articles like this one.