
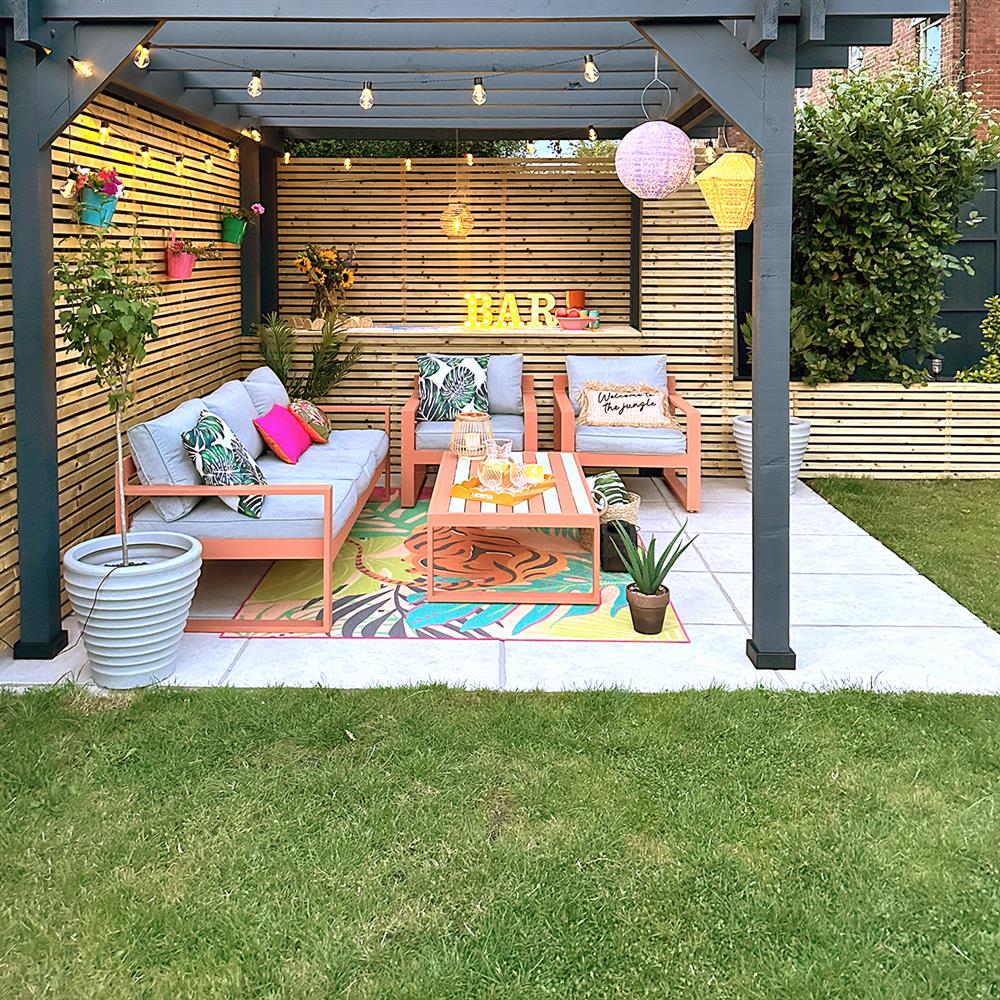
A sure-fire way of modernising your garden, a new set of paving slabs or outdoor tiles revives a tired outdoor area entirely while forming a designated patio space for dining, socialising, or relaxing.
Whether you’re looking to lay natural stone paving, or you are keen to install porcelain paving, there are a wealth of slab materials to choose from to create your perfect patio look. And if you’re planning on laying patio slabs yourself, you might be considering directly laying the patio slabs on soil to create a stepping-stone effect in your garden or even extending your patio area into the garden itself.
We’ve rounded up all of the essential information you need on how to lay patio slabs on soil, including how to prepare the base laying layer, and whether or not you should be laying paving slabs on soil to begin with.
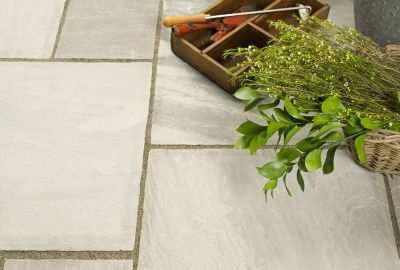
Kensington Beige Porcelain Paving (image: Little Edwardian Semi)
Can you lay paving slabs on soil without cement?
In short, yes, you can lay paving slabs on soil without cement, but it's not ideal for long-lasting results. Although it might seem like a quick and cheaper method for laying paving, placing slabs directly onto soil can affect the longevity, and subsequently cost you more money in the long run.
It’s always worth investing in a good base. Without a solid foundation, your paving is more susceptible to environmental factors such as soil movement, changes in moisture, and temperature variations. This can lead to uneven surfaces, sinking, and cracking over time. Adding a top layer, such as cement, can help to form a crucial barrier between the earth and your tile.
How to lay patio slabs on soil
Still thinking of laying your paving slabs on soil? We’ve rounded up everything you need to know, step-by-step, on how to lay slabs on soil effectively, to ensure you achieve a durable patio or paved area that will look smart for years to come:
1. Collect the correct tools and materials
First up, you’ll want to gather the right tools for the task at hand:
- Paving slabs
- Sharp sand
- Cement
- Edging material
- Shovel and spade
- Rubber mallet
- MOT Type 1
- Excavator (hire if necessary)
- Compactor plate and roller
- Spirit level
- Wheelbarrow
- String
- Stakes (pointed rods) to hold the string in place
2. Mark and prepare the working area
Begin by marking the dimensions and shape of your planned paving area with string and stakes to outline where the slabs will be laid, then remove any grass, weeds, or other vegetation from the area using a shovel. Next, dig down to a minimum depth of 150 mm, ensuring all debris, weeds, and rocks have been removed.
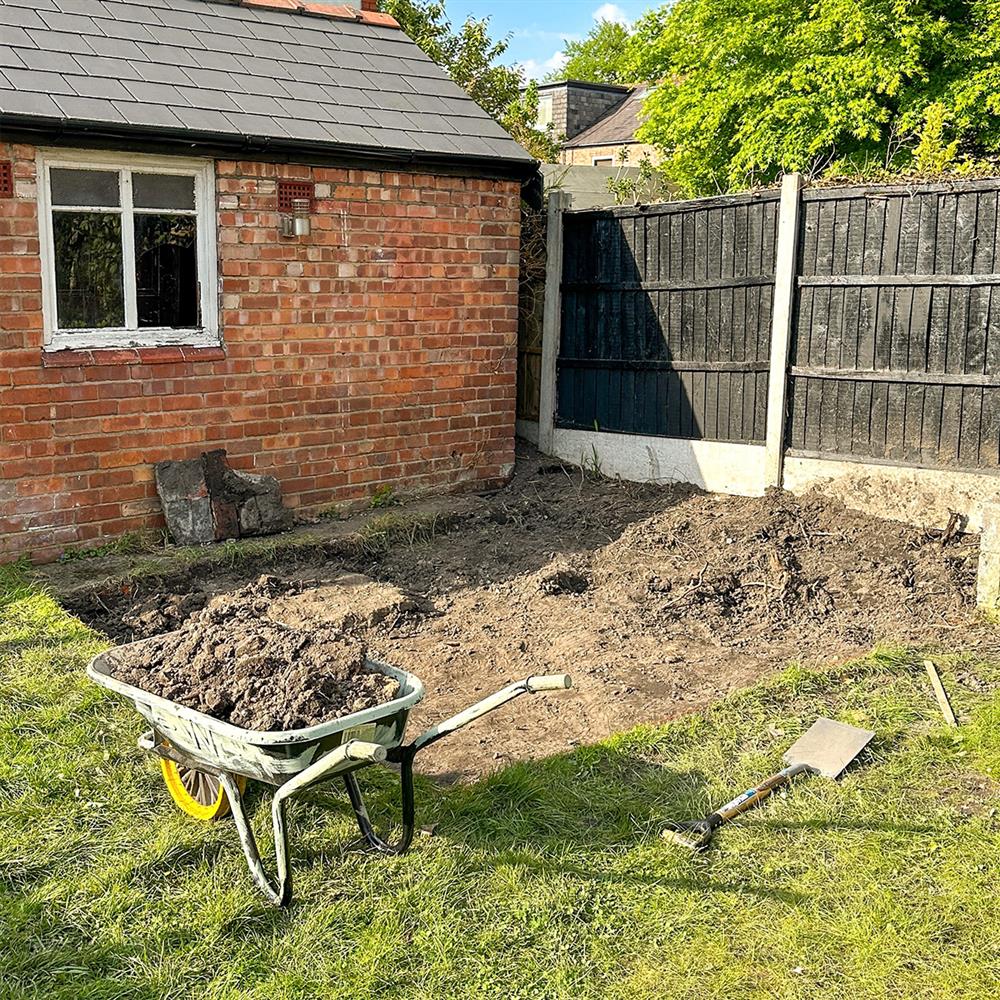
3. Create the sub-base
After excavation, add a layer of Type 1 MOT (crushed stone) to the dug-out area – this is your sub-base. Spread it in two layers, compacting each layer with a compactor plate, and aim for a compacted thickness of 100 mm to ensure a stable foundation.

4. Apply mortar bedding
Once the sub-base is prepared, cover it with a 5 cm layer of mortar bedding made from five parts sand to one part cement. This bedding layer stabilises the ground and helps prevent weed growth.
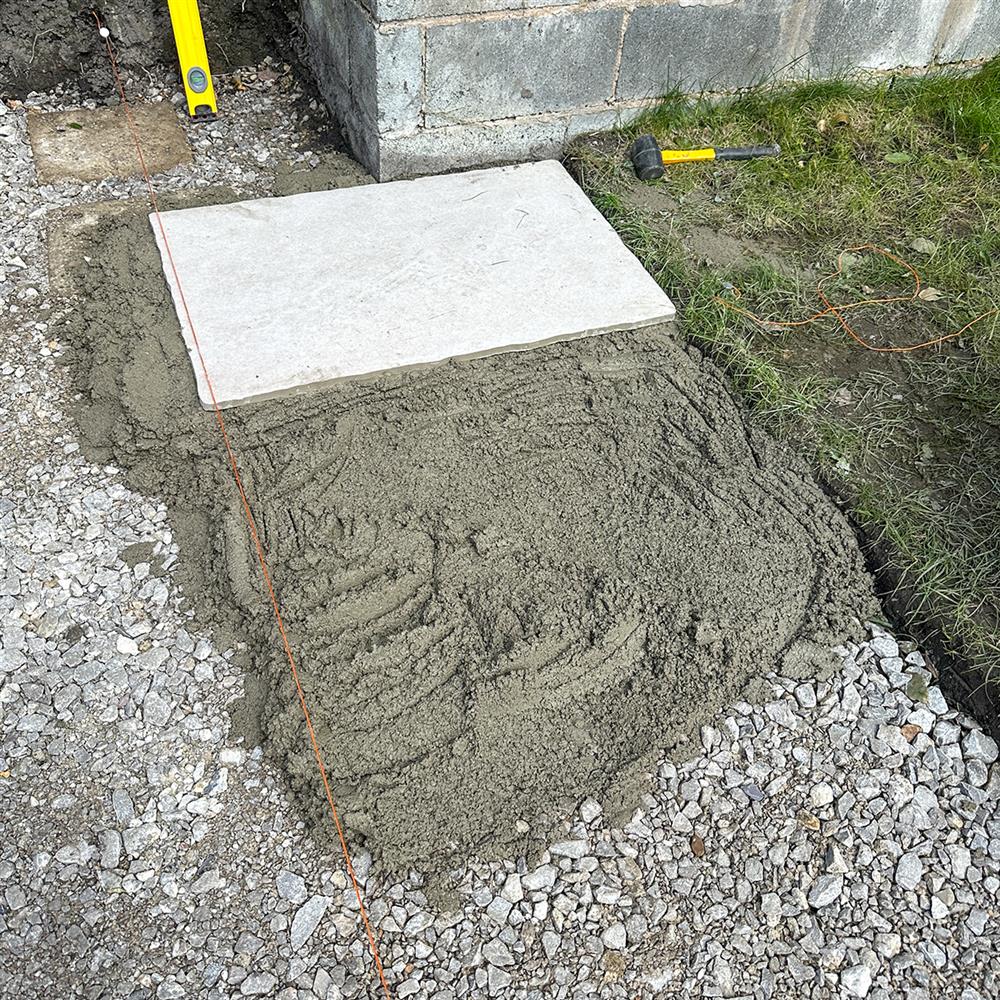
5. Lay your paving slabs
Start by placing the first slab in a corner and aligning it with your string and stake marks. Use a spirit level to ensure it's level, then lightly tap it into the mortar with a rubber mallet. Once in place, repeat this process for each slab, arranging them as you see fit.
Be sure to take the time to make sure all your slabs are evenly aligned and leave a gap of about 15 mm between each slab to allow for proper drying around the edges. Use your string line or spacers to maintain consistent spacing.

6. Tackle awkwardly shaped areas with care
For awkwardly shaped areas, we recommend dry-laying the slabs before installation to double-check that they fit. When navigating around obstructions such as trees, for example, cut the slabs to fit accordingly and ensure gaps are wide enough for pointing.
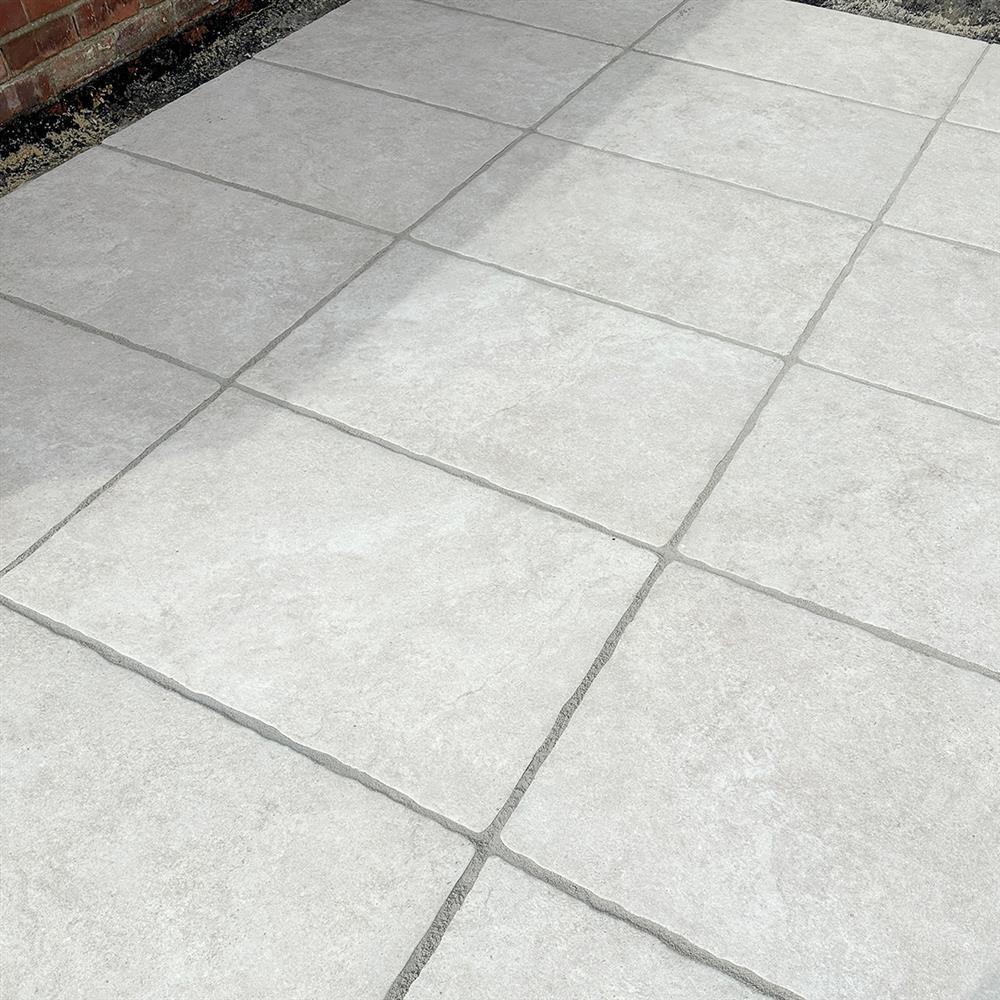
7. Fill in the grout
Now it’s time to fill the gaps between the slabs with grout. You can use sand or cement to do this. Use your shovel to gather up some grout mixture, then apply it to the slab surface, spreading it at a 45-degree angle over the slab and joints.
Move the grout diagonally back and forth in various directions to ensure the joints are fully filled. If you are using cement-based grout, be sure to clean the surface with a lightly damp cloth to smooth the joints. Repeat the process for the remaining slabs until you’ve finished.
8. Leave your paving slabs to set
Finally, make sure to leave the paving slabs to set properly for 24-48 hours, as walking on them too soon after laying may cause them to shift.
The do’s and don’ts of laying paving slabs on soil
To ensure durable and lasting results when paving on soil, be sure to keep these do's and don'ts in mind:
1. Do assess soil type
Be sure to determine the type of soil in your garden. A soil that doesn’t provide a stable foundation can lead to uneven surfaces and is less likely to hold up well over time.
Be wary of heavy clay soils in particular. This type of soil can cause damage to the paving slabs due to poor drainage and soil movement – particularly during bad weather. Add a high-quality sub-base for increased durability.
2. Do plan your layout
Consider the size and shape of the area where you plan to lay the paving slabs. Take into account any existing structures such as trees or flower beds, and plan your layout accordingly. Make sure to do a ‘dry run’, whereby you lay out your paving slabs without any mortar or cement, double-checking they fit before fixing anything down.
3. Do order extra slabs
When measuring the area for your paving and the number of tiles you need, make sure to add 10% additional slabs to ensure you have enough material to complete the project smoothly. Having 10% extra will cover cuts for trickier areas and provides spares in case of accidental breakages.
4. Do check drainage
Don’t forget to factor in proper drainage planning when laying patio slabs on soil. You’ll need to check that your soil has good drainage, to prevent the patio slabs from sinking as a result of water gathering on the surface. Make sure the surface is flat, with a slight gradient sloping away from your property.
5. Don’t lay tiles directly onto the soil
We would recommend you avoid placing paving slabs on soil without cement or prepping it with a sub-base material. A good base helps prevent issues related to soil movement, moisture changes, and temperature variations. Without a solid foundation, the slabs are more likely to shift, sink, or crack under pressure, especially in areas with heavy foot traffic.
Get your new paving stones from Stone Superstore
Laying patio slabs on soil is an easy DIY project when you follow the above steps, ensuring a well-installed and durable paving area that will stand the test of time. Careful planning, adding a sub-base layer, and investing in quality materials can make all the difference in ensuring that your patio slabs last for decades to come. Of course, you won’t be able to bring your plans to life without buying your tiles first.
Here at Stone Superstore, we have a wide range of stone and porcelain paving available for you to buy. Take a look at our selection today and don’t forget to order a sample selection of your favourite tiles so you can see them in person before you start your project.
And now you know the basics on how to lay patio slabs on soil, why not check out our modern garden paving ideas? Here you’ll find plenty of inspiration on how to create a bespoke modern patio look.