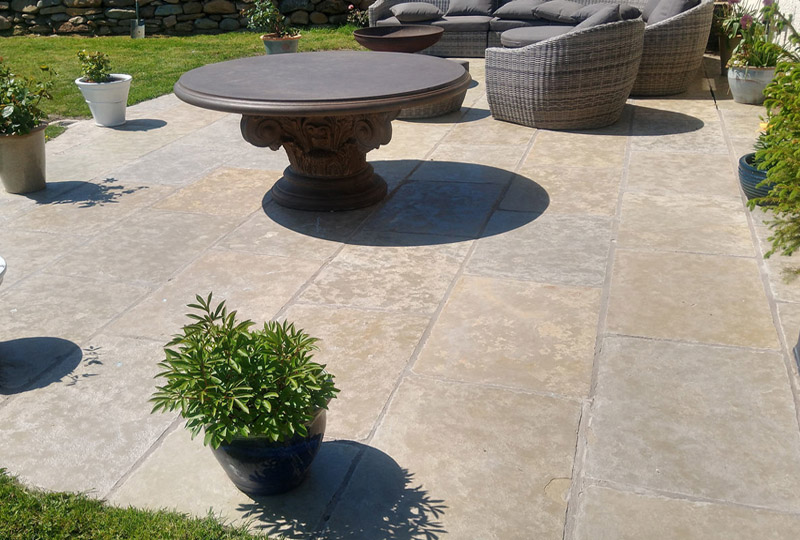
Whether you’ve had your patio for years or it’s been recently laid, keeping your outdoor spaces looking pristine throughout the year is something we all strive for. But maintaining such an appearance can get tricker as our patios age and neglect can lead to unwanted black spots on your patio paving.
While only appearing as a minor nuisance at first, left unchecked, they can quickly spread across your patio tiles. And the longer you leave them, the more difficult it’s going to be to remove black spots from your patio.
But how exactly do you go about banishing black spots on your patio so that they don’t come straight back? And perhaps more importantly, how do you do it without marking or damaging your patio in the process?
Keep reading to learn exactly what you need to know about how to remove black spots from your patio, including tips on traditional ways to get rid of black spots on your patio, and insight into how to create your own homemade patio black spot remover.
![]()
Black spots on paving is caused by lichen, which can thrive on neglected stone surfaces (image credit: freepik)
What are patio black spots?
Simply put, black spots on your outdoor patio tiles are actually a type of mould, lichen and bacteria, rather than damp or water, often taking on the shape of ink spills or uneven circles.
Essentially, when your tiles are exposed to constant moisture (and are not properly waterproofed), it provides the perfect environment for this mould to take root in your stonework. This is particularly true if your patio is located in a humid, shady area, or if your outdoor tiles are made of untreated natural stone paving. Even if you prefer outdoor porcelain tiles, black spots can show up on all patio tiles if unprotected and not maintained.
Naturally, the longer you leave these black patio spots, the harder it will be to get rid of them. This is because, over time, the mould will set down roots in your stone which anchors it below the surface. So, even if you pressure wash the spots away, they can come back quickly.
How to get rid of black spots on your patio
Needless to say, now that you know what black patio spots are, you probably want to get rid of them. And the good news is that, even if they’re well ingrained in your paving, with the right tools and knowledge, it’s very easy to remove black spots from your patio.
Essential tools and materials to remove black spots from your patio
Before you start trying to cleanse your patio of mould and mildew, you’ll first need to acquire the right gear to do the job properly. That way, the black spots won’t return quickly, if at all.
To do this, we recommend picking up the following toolset:
- An outdoor sweeping brush
- A hard bristled hand brush
- A pressure washer or hose
- Patio cleaner of your choice
- Rubber gloves to protect your hands.
Once you have these to hand, you’re good to go.
The easiest way of how to get rid of black spots on your patio
Before we touch on making your own homemade patio black spot remover, let’s first go over the easiest way to remove such blemishes from your patio, which is of course, using a powerful and dedicated patio cleaner.
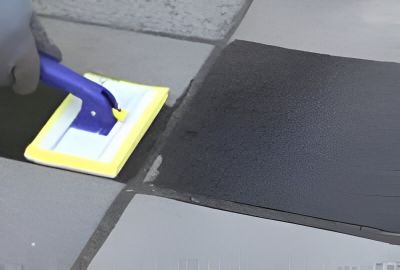
You’ll need to start by picking your patio cleaner of choice. We’d recommend LTP Grimex Heavy Duty Grime Remover from our product fixing selection. Not only is it fantastic value, but it works on almost all kinds of outdoor paving.
Of course, there are many other reputable patio cleaners out there to pick from, though you should check that they can be used on your patio’s tiling material without damaging it before purchase.
Once you’ve picked up your patio cleaner, all you need to do is follow the steps below and your patio will be free of black spots in no time:
1. First, take your sweeping brush and clear your patio of any debris, vegetation, and outdoor furniture so that the area in question is entirely empty.
2. Next, taking your patio cleaner, carefully read the instructions provided and follow them exactly. For example, some products may require your patio to be wet before application, while others may need you to wait a set number of hours before rinsing it off.
3. Once you’ve completed each step of your patio cleaner’s instructions, you can then clean it down with a hose or a pressure washer on a low setting, repeating the process if necessary to clear any stubborn patches.
And that’s it, that’s pretty much all that is required to wipe away those black spots from your patio. But what do you do if your patio is old and more vulnerable to damage from more powerful patio cleaners?
How to remove black spots on your patio without chemicals
If you’ve decided not to use a dedicated patio cleaner to eliminate the spots on your patio, then the next best thing is to create a homemade patio black spot remover from natural ingredients.
Please note, this sort of treatment likely won’t be as effective as cleaning products that are directly tailored to the elimination of lichen, mould, and bacteria, but with enough time and effort, it will remove the majority of your patio’s marks. And as a bonus, you only need two common household ingredients to get started – white vinegar and baking soda.
Once you have these two ingredients, simply follow the steps below to start cleaning your patio:
1. Start by clearing your patio of all furniture and debris, making sure that the area you want to clean is entirely clear.
2. Next, take 250ml of baking soda and 500ml of distilled white vinegar and slowly mix them together in a bucket until they form a soupy consistency.
3. Liberally apply this mixture to the black spots on your tiles, working it into the nooks and crannies where necessary, and then leave it to soak for at least 15 minutes. Then take your hand brush and scrub off the black spots.
4. Repeat the previous step as required until your tiles are clean, creating more homemade cleaner as needed, and when you’re satisfied, wash the whole of your patio down with water.
Does vinegar remove black spots on patios?
Yes, distilled white vinegar specifically is the most effective vinegar for removing black spots on your patio. Not only does its acidic nature cut through mould and lichen, but its antibacterial and antifungal properties decrease the likelihood that the black spots will return in the future.
However, the one caveat to using vinegar is that it must be combined with another ingredient in order to dilute it, for example, baking soda or water. If not diluted, then excess vinegar use can unintentionally mark your tiles – much like if you decide to use bleach to clean your tiles instead (which you should absolutely not do).

How to prevent black spots from appearing on your patio
As with most advice around caring for outdoor stone paving and porcelain slabs, the best way to prevent black spots from appearing on your patio is to wash and rinse them on a regular basis and make sure that they’re properly sealed straight after being laid.
This last point is of particular importance, as waterproofing is key to preventing mould from settling on your patio permanently. It’s one of the reasons why this sort of marking is far more of an issue for porous natural stone compared to porcelain paving.
If you do have sandstone slabs or limestone slabs outside, then make sure you seal them straight after cleaning if you haven’t already. That way, you can be sure that any future moisture and lichen won’t be absorbed.
Finally, even if your tiles are properly sealed, it can be worth looking at installing adequate patio drainage alongside them to prevent standing water from promoting future mould growth.
The home of high-quality outdoor paving
You should now have all the information needed on how to eliminate black spots from your patio. As cost-effective as using your own special cleaning remedy can be, if you’re short on time, then using a dedicated patio cleaning product is the best way to ensure results.
If you’re looking to replace your old patio or lay an entirely new one, then Stone Superstore has all the paving options you need. From our expansive range of outdoor porcelain tiles to our curated selection of natural stone slabs, we’ve something for everyone in our collection!
Why not order a set of free samples today to see the beauty of our paving options in person? And for more tips on how to care for porcelain paving and other tiling insights, be sure to head over to our advice blog.


