
A classic feature of many UK gardens and the perfect DIY option for anyone looking to spruce up the exterior of their home, when it comes to laying out pathways around your garden, a well-laid set of stepping stones is a fantastic option.
From traditional natural stone slabs to more modern porcelain paving slabs, there are plenty of stepping stone options to choose from to suit your landscaping style, perfect for setting walkways through every corner of your garden.
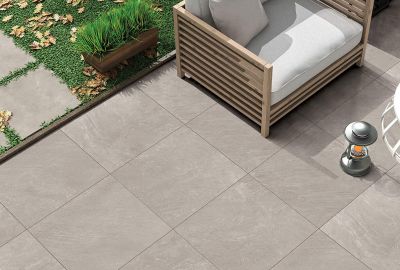
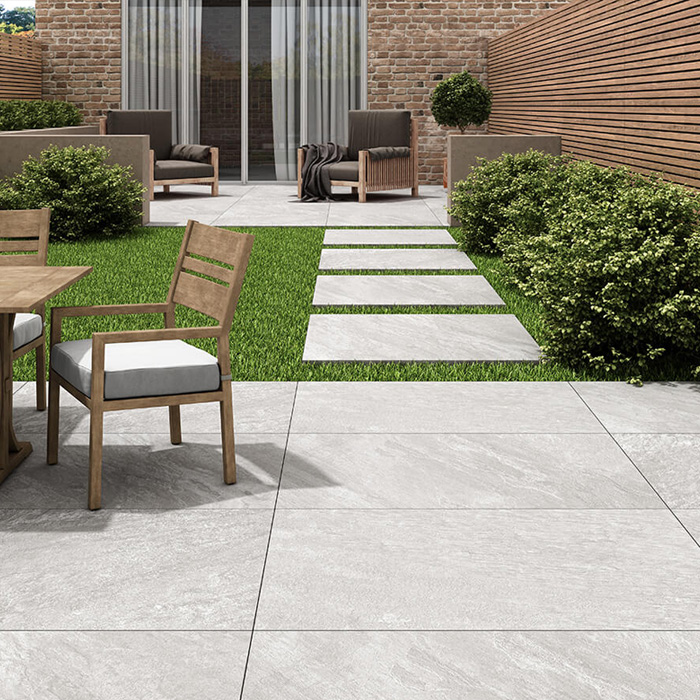
Luxor Silver Porcelain Paving Slabs
Of course, if you’ve never done any garden landscaping before, you might be unsure exactly how to lay stepping pavers properly – which is exactly why we’ve pulled together this guide to explain everything you need to know about stepping stone pavers.
From how to lay stepping stone pavers in grass to what to consider when picking your stone slabs to begin with, continue reading to learn the tools and tips you’ll need to follow when laying stepping stone slabs.
What tools and materials do I need when laying stepping stone pavers?
Whether you’re planning on laying stepping stones in grass or as part of a gravel walkway, there are several important tools and key materials you’ll need to get the job done properly.
These tools include:
- A wheelbarrow
- A pointing trowel
- Rubber mallet
- Spirit level
- A shovel
- String
- Line pins
- A measuring tape
As for materials, you’ll need to purchase the following:
- Paving cement
- Sharp sand
- Builders primer
- Gravel
- Your stepping stones of choice
On top of this, if you plan on laying stepping stones in grass, you’ll also need to pick up these additional tools and materials:
- A garden roller or tamper
- A rake
- Lawn soil
- Grass seeds
Once you have everything you need you can then get started.
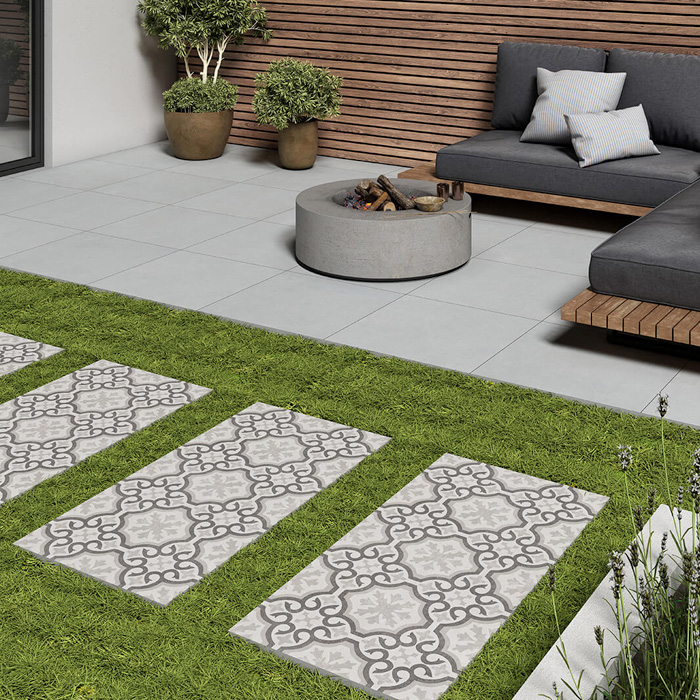
Noho Silver Victoria Decor Porcelain Paving Slabs
How to lay stepping pavers in grass
To start with, let’s cover the steps you’ll need to follow in order to lay pavers in grass.
1. Perform a dry run
As with tiling any room inside your home, the first thing you’ll want to do when laying stepping stone pavers in grass is to perform a dry run. This means taking your pavers and laying them out on your grass to form your desired route and the gaps between the tiles.
Starting from the beginning of your path, lay your pavers out roughly a stride apart, repeating this process until you reach the planned end of your new path. Then, going backwards, use your tape measure to ensure that the distance between each paver is the same, making sure to adjust the position of your pavers if needed.
Once you’ve put your pavers down, you can then take your string and line pins and use them to clearly outline the edge of your paved path, making sure to leave a small gap between the edge of the string and the pavers themselves and placing each pin in line with the corner of each paver to make laying them easier.
2. Dig a trench along your path
Next, take your shovel and create a shallow trench along the length of your lined path. This trench should be roughly 20mm deeper than the thickness of your slabs, so be sure to measure this thickness beforehand, while also being slightly narrower than the path width set out by your string.
Keep digging your trench until you’ve dug out the whole of your lined pathway and then complete the process by using your garden tamper to flatten and compact the soil beneath. You want to make sure the foundation beneath your slabs is solid. That way, you’ll minimise the chance of them sinking or shifting in the future.
3. Lay your stepping stones
Now that your trench is dug and flattened, it’s time to move on to laying your slabs.
To do this, you’ll want to follow the instructions laid out on your cement packaging in order to combine it with your sand to form a semi-dry mortar mix. Then take your pointing trowel and spread a thin lay of mortar, around 15mm, in line with the space for the first paver.
With the mortar down, flip your starting slab and coat its underside with a very thin layer of primer, then carefully place the paver into place so that it matches up with your line pins.
Once you’re satisfied with its position, take your rubber mallet and gently tap it into place via the centre of the slab so that it’s level and sits slightly lower than the top of the trench, checking with your spirit level to ensure a smooth finish. Then simply repeat the process for each slab until you’re done!
4. Leave your stones to set
With your slabs now in place, you’ll want to leave them enough time to set in position before doing anything else around them. If the weather is good, then simply cordon the area off with string, so people don’t walk on them. However, if rain is due, then it’s best to cover the whole area with waterproof sheets to keep it as dry as possible.
After 24 to 48 hours, depending on your cement’s stated drying time, you can then finally add the finishing touches to your paving project. For example, if you want your new pavers to blend seamlessly with the lawn, refill your trench with soil and then sow it with grass seeds. Within a few weeks, your lawn will look perfect.
Alternatively, if you want to change things up a bit, you could instead widen your trench slightly and line it with brickwork that matches your outdoor tiles before filling the remaining space with gravel to provide a distinctive and eye-catching walkway.
Then all that’s left to do is brush and hose down your slabs so they’re clean and your job is done!
Can you just lay stepping pavers on top of grass?
For those wondering whether or not you can lay stepping pavers on top of grass or how to lay stepping stones without cement, the answer is that, yes, you can do this, however we wouldn’t recommend it.
For one thing, the use of cement is a vital component in preventing your pavers from sinking or moving about once in position, and without it, you could spend additional time rearranging or propping up your path in the future.
On top of this, laying pavers on top of grass can increase dangerous risks. Not only do they form a likely tripping hazard because your pavers are not sunk at or below ground level, but they’ll also form an obstacle when mowing the lawn, which could lead to you damaging your mower or injuring yourself.

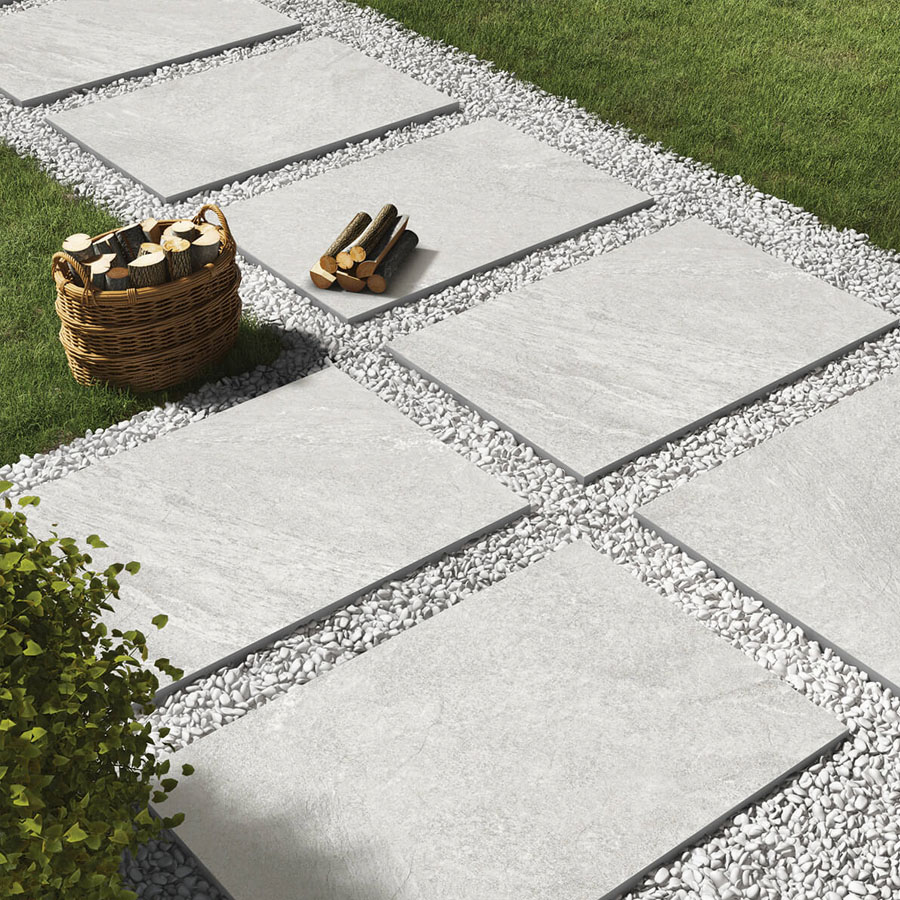
Rock Slate Grigio Porcelain Paving Slabs
How to lay stepping stones on gravel
As pretty and timeless as a paved garden path in grass is, if you’re after a modern, all-stone garden look with a touch of added style, then you may want to lay your stepping stones in gravel instead.
And the good news is that the process for doing this is very similar to laying stepping stone slabs in grass. You just need to be sure you follow the additional steps highlighted below:
1. Do a dry run
In the same way, as we explained when laying out your stepping stones in grass, be sure to start off your gravel stepping stone plan by carrying out a dry run in the area you want to place your outdoor tiling
Of course, if you’re building this new gravel zone from scratch, then you can lay your tiles out and line them with your string and line pins straightaway. However, if your floor is already gravelled, then you will need to clear the gravel to either side in order to form a trench where you will lay your slabs.
Again, like before, try to keep your slabs a stride’s distance apart and make sure they’re evenly spaced using your tape measure. Then take a tamper and use it to compact the surface beneath your gravel flat for an even foundation.
2. Lay your slabs
Next, you’ll want to create an even bed of mortar for your slab to sit on, so take your cement mixture and apply a level covering to your first tile’s space. Then take your first paver, coat its underside with a thin layer of PVA glue, and lay it in position, again using your line pins as a reference for where to position it.
Once it’s down, tap your slab into position using your rubber mallet and check it’s straight with your spirit level, after which you can take your trowel and fill in any visible mortar gaps under the paver while also pointing its sides so that the slab will sit securely in place.
After this, simply repeat the process until all of your pavers are in place, level, and secure.
3. Add the finishing touches
Last, but not least, once your slabs are in place, leave them to dry for 24 to 48 hours, depending on your cement’s instructions, covering them if required to protect against wet weather. At this point you can then replace the gravel, smooth it flat, and enjoy your new walkway.
How to choose the right tiles for stepping stones
Although understanding how to lay natural stone paving and porcelain outdoor tiles properly is important, so too is knowing what tiles to pick for your garden in the first place. After all, you want to make sure you pick a set that matches your home aesthetic while also lasting you for many years to come.
For that reason, we recommend choosing tiles with maximum durability, such as porcelain tiles or dedicated natural stone slabs, such as limestone paving or sandstone paving.
These options not only look incredibly naturally beautiful as patios and walkways, but they’re also highly durable and ideal for external use. So long as your tiles are sealed, you’ll only need to wash them from time to time to keep them looking as good as new.
Raveena Silver Porcelain Paving Slabs
Outdoor tiling from Stone Superstore
Now that you know how to lay stepping stones in your garden, you should be more than ready to bring your next garden project to life. Of course, that means you’ll need to take some time to find the perfect outdoor pavers for your home – such as the fantastic styles we have on offer in our curated Stone Superstore collections.
From sandstone tiles and limestone tiles to a range of porcelain-effect pavers, we have an extensive range of outdoor paving stones just waiting for you to browse. Why not order some free samples of your favourites today? Or you can visit our inspiration blog for more guides like this one, such as modern garden paving ideas or how to lay porcelain tiles.