
When it comes to choosing outdoor tiles, if you’re looking for a classic patio or pathway in your garden, then sandstone offers the perfect natural stone paving option. Laying sandstone paving is a fantastic way to elevate your outdoor space through a rustic, organic touch that feels authentic and timeless.
But if you’ve never set yourself the task of laying Indian sandstone or similar before, the process may seem just that little bit daunting. Fortunately, with the right know-how, this DIY task can be achievable.
Read our below guide to learn all the steps you need to follow when laying sandstone paving slabs, as well as what surfaces are suitable for you to lay your tiles - all to ensure that you get the professional result you’re after.
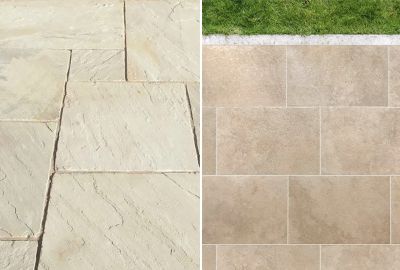
Classic Raj Imperial Sandstone Paving
What tools and materials do I need when laying sandstone slabs
First things first, you can’t start any paving project without the right tools and materials at hand – which is why we’ve outlined all the equipment you’ll need when laying your sandstone slabs. The tools you’ll need include:
- A wheelbarrow or bucket
- A pointing trowel
- A shovel
- String
- Line pins
- Rubber mallet
- Edge restraints
- Slab spacers
- Spirit level
- A measuring tape
- A grouting trowel
- A pointing iron
- Safety gear
- A brush and a sponge
And when it comes to materials, you’ll need:
- Your sandstone slabs of choice
- Sharp sand
- Paving cement
- Building sand
- Paving grout
Once you have all these tools, you’re ready to get started.
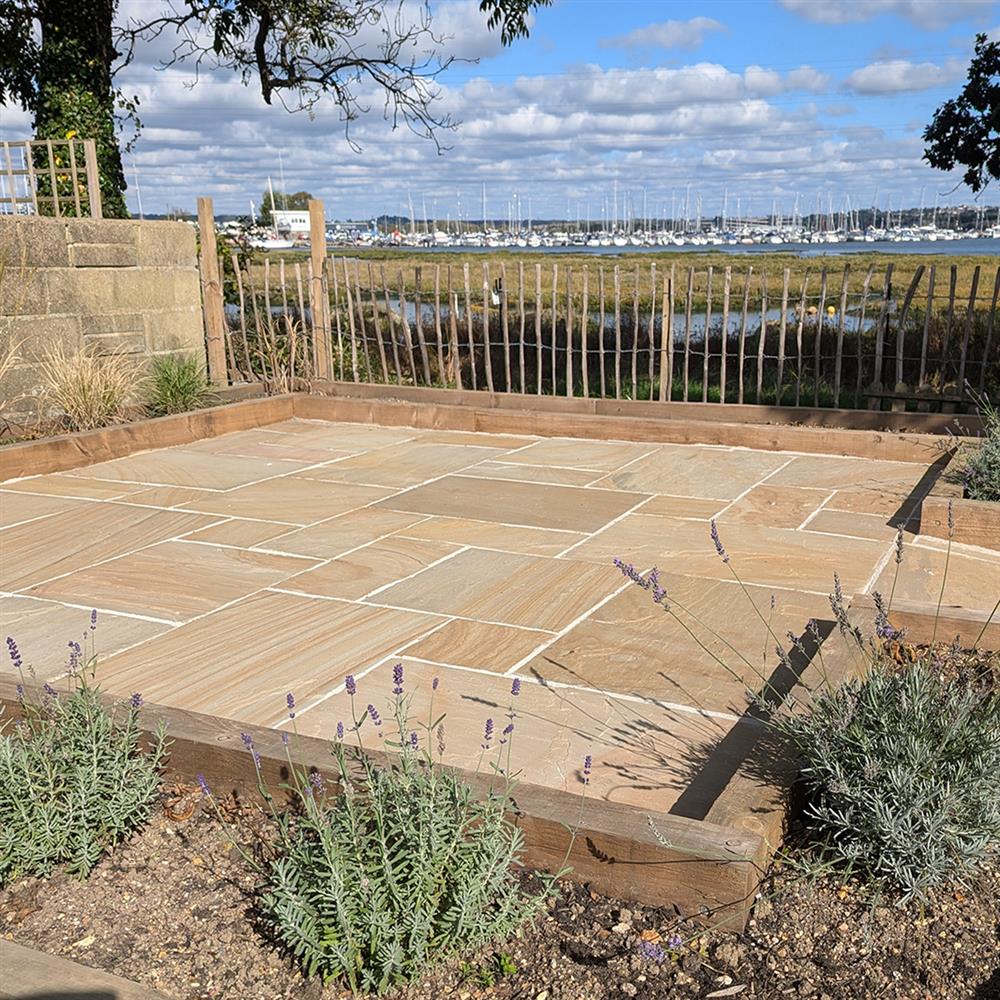
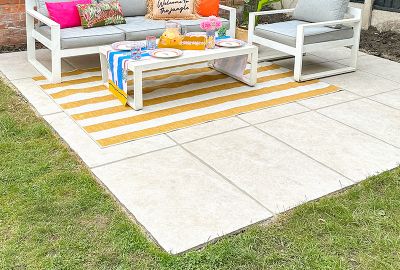
Classic Sunset Buff Sandstone Paving
How to lay sandstone slabs
Although laying sandstone slabs isn’t necessarily a quick process, if you’re prepared to put in the time and attention to detail, you can achieve the same high-quality finish to your paving as any professional tiler.
1. Perform a dry run
First, before you start mixing any mortar or prepping your grout, you need to do a tile-laying dry run. Carrying out a dry run like this is essential in order to work out where your tiles will be laid, as well as highlighting whether or not you’ll need to order more tiles before you commit to cementing your sandstone in place.
On top of this, a dry run will show you which tiles may need to be cut to fit, ensuring you have ample time to attend to this before starting. Once your dry run has been laid out, take your stakes and string and use these to clearly outline the edges, leaving a slight gap between your pins and pavers for easy laying.
2. Excavate your work area
With your dry run done, remove all your slabs but leave your string and pins in place. Then, using your shovel, dig out the area you’re working in to the required depth, typically just slightly lower than the thickness of your chosen paving slabs. Alongside this, you’ll want to factor in a slight slope for drainage, leaving an additional depth of 1cm per meter of your work area.
3. Lay your sub-base
Once your work area has been excavated, it’s now finally time to prepare and lay your sub-base. Start by filling the whole area with a layer of sand up to 150mm deep and compact it thoroughly using the flat end of your shovel or a wacker plate (which can be hired from any builder’s merchant).
Next, slot in your edge restraints around the perimeter of your work area to keep your paving from moving over time or while it dries.
4. Mix and spread your mortar
With your sub-base sorted, it’s now time to mix your mortar. If you have a ready-mixed mortar, simply follow the instructions laid out on your product of choice. Otherwise, you can mix your own using a 5:1 ratio of sharp sand to cement mix, and then slowly add water until it forms a thick consistency.
When your mortar is ready, use your pointing trowel to spread a 25mm layer of mortar over one tiling spot. Then carefully lay the paver in place so that it lines up with your line pins.
Finish off by gently tapping the slab into place with your rubber mallet until it sits level with the surrounding area, checking your spirit level every so often to keep everything straight. Once you’re satisfied, simply repeat this process for your remaining slabs until done, using spacers between each to maintain a consistent joint width.
5. Leave your slabs to set
After all of your sandstone has been laid, let them set. You want to make sure that your cement is fully dried before stepping onto your new tiles and applying your paving grout. You want to give your slab cement at least 24-48 hours to set completely, to keep your pavers from moving.
6. Mix and apply your paving grout
Once your tile cement has dried and your sandstone slabs are set in place, it’s time to grout your patio.
Start by clearing your patio of any dirt and debris that may have fallen on the area during the drying period, and then take your bucket and combine a mixture of 4 parts sand with 1 part cement, mixing thoroughly and slowly adding water until it forms a thick consistency.
Next, taking your pointing trowel, scoop some of the mixture out and then carefully slice it into your tile gaps, pushing the mortar down as you go for a firm and consistent coat. Keep going until all your joints are filled and then use your pointing iron to remove any excess mortar.
Finally, once you’ve grouted the whole area, take your brush and use it to sweep away excess cement on your slabs before it has a chance to dry, using a damp sponge and water where necessary to remove stubborn marks. Then, leave your grout for a further 24-48 hours to dry before stepping on it.
7. Seal your tiles
When laying sandstone paving, you must seal your tiles if you want to keep them protected and in top condition. This is because sandstone is naturally porous, making it vulnerable to staining, fading, and mould growth if not sealed properly.
Fortunately, sealing your new tiles is a fairly quick job. Simply source a sandstone-friendly sealer, such as our external stone sealer, and follow the instructions laid out on the product to fully seal your new tiles.
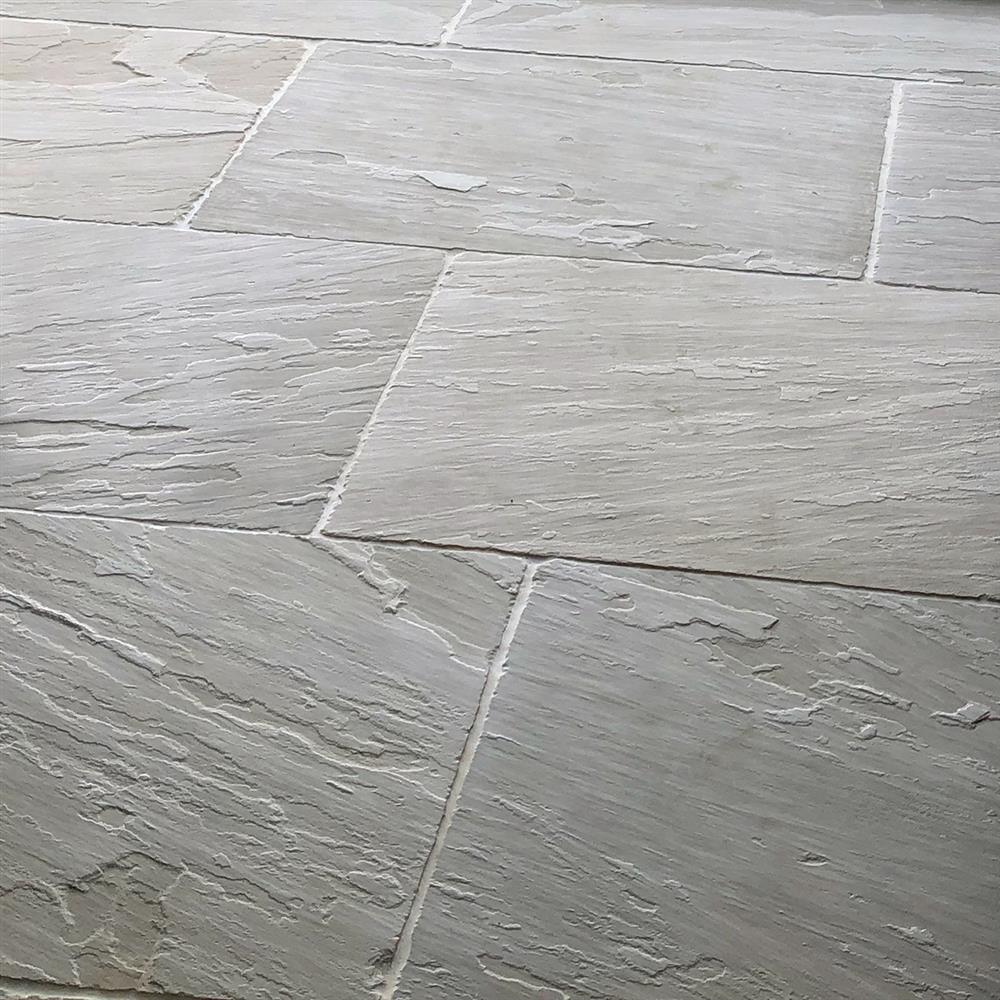
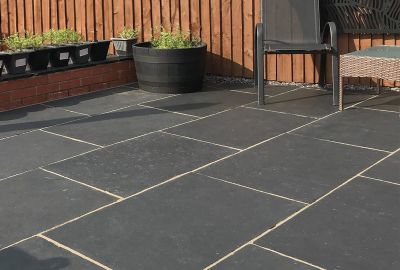
Umbrian Grey Sandstone Paving Slabs
Laying sandstone slabs on different surfaces
When laying sandstone slabs it’s important to consider what surface you lay your outdoor tiles on:
- Laying sandstone on concrete: Concrete tends to be the most common base on which to lay tiles, making it well-suited as a backing for sandstone paving. That said, you need to make sure you’re first laying a full mortar bed.
- Laying sandstone on soil: While you can lay sandstone slabs on soil, you should only do this if you plan on creating a firm base for your slabs to adhere to, otherwise, your slabs can move over time.
- Laying sandstone on sand: It is possible to lay sandstone slabs on sand. However, pavers should only be laid on sand if there is a stable surface beneath and on either side that can keep the sand compacted.
- Laying sandstone on grass: Much like soil, sandstone slabs should not be laid directly on grass as this will not provide a stable foundation for your slabs and they will likely move.
Find your new sandstone paving today
You should now have all the information you need to start planning your sandstone paving project - laying sandstone can certainly be a rewarding DIY project, and with careful preparation, you can create a beautiful and lasting feature in your garden.
Of course, if you want to lay sandstone paving, then the first thing you’ll need to do is choose your perfect tiles. And the good news is that we have a fantastic selection on offer throughout the Stone Superstore range - as well as plenty of other natural stone outdoor tiles and porcelain stone-effect paving.
Get in touch today to speak with one of our friendly team members today, and don’t forget to order a set of free cut samples so you can see what they look like in your garden before placing your full order.